Please indicate that you accept the Terms and Conditions and Privacy Policy of the BobbiBrown site in order to sign-in with Facebook
How do we use your data? By clicking “Continue with Facebook”, you accept that your first name, last name, Birthday, Gender, Location, Age Range, and Relationship status will be used to create and manage your user account. Your email address may be collected if you choose to share with us your email address from your Facebook public profile, for this purpose. All other personal data available from your Facebook public profile will not be collected by BobbiBrown. If you disagree with the options offered by Facebook, please click on “create your account” without Facebook. You may request to access, rectify or delete your personal data by sending an email to infobb@bobbi-brown.co.uk. For more information on BobbiBrown privacy practices, your rights and how to exercise these rights, please see our Privacy Policy.
How do we use your data? By checking this box, you accept that your e-mail address will be used to send you marketing newsletters and information about BobbiBrown products, events and offers. You can unsubscribe at any time by clicking on the unsubscribe link in each newsletter. For more information on BobbiBrown privacy practices, please see our Privacy Policy.
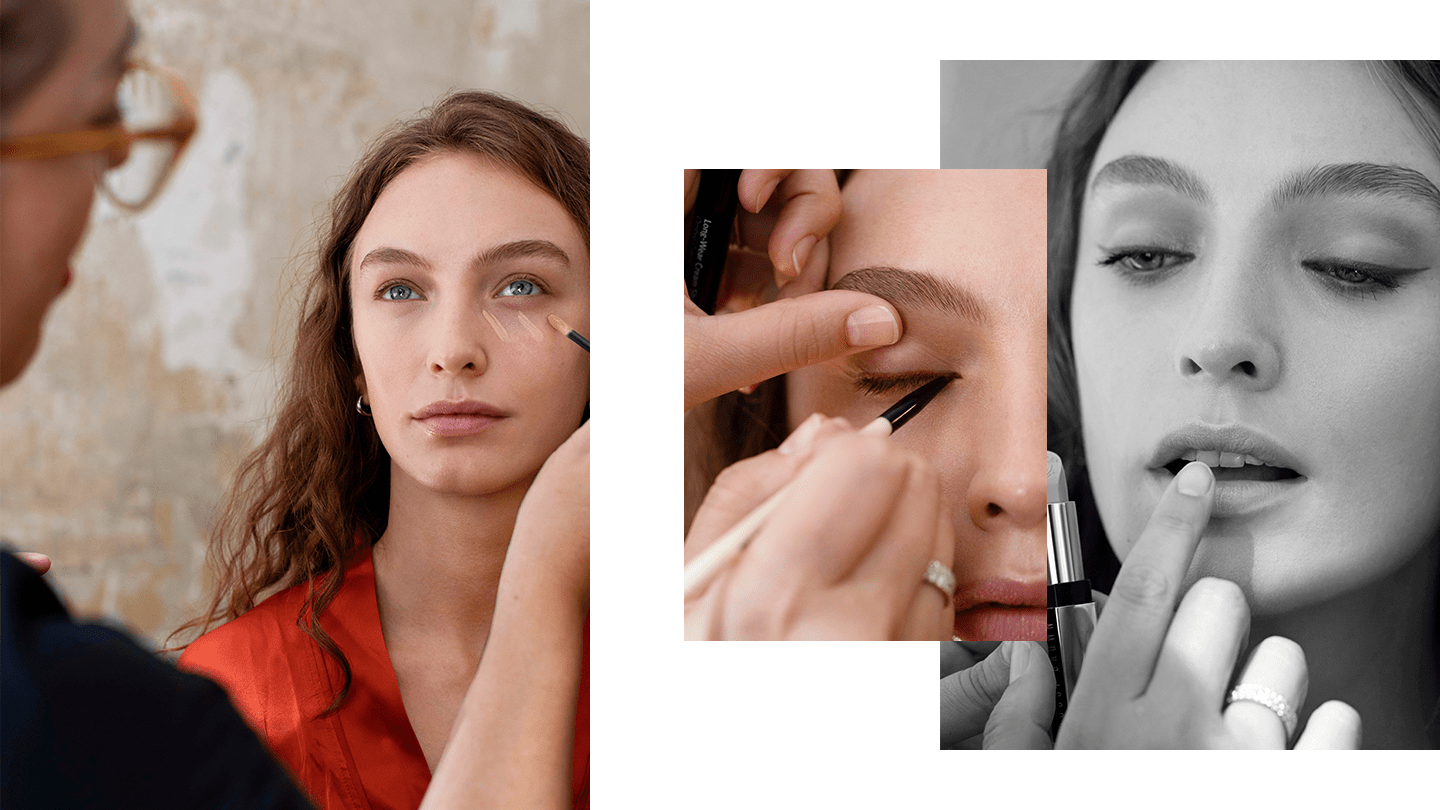
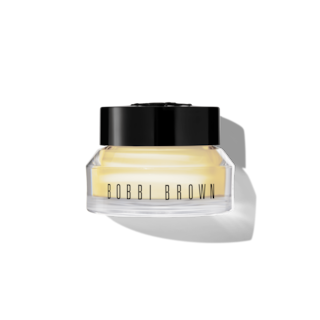
In order to get the best out of your bridesmaid makeup looks, you need to ensure you hydrate and prepare your skin properly before applying makeup.
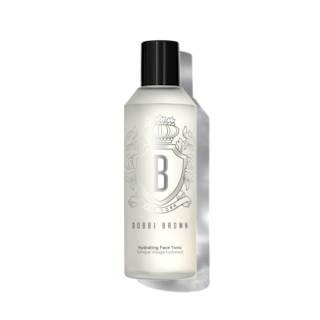
• Start by saturating a cotton pad in Hydrating Face Tonic and smooth this over the face and neck. Pro tip! For any areas where you feel roughness in the skin, work the pad in small circular motions to help reveal a smoother less textured base.
• Take a ‘small pea’ size amount of Vitamin Enriched Eye Base, warm up between the fingertips and press under the eyes from the lash line to orbital bone.
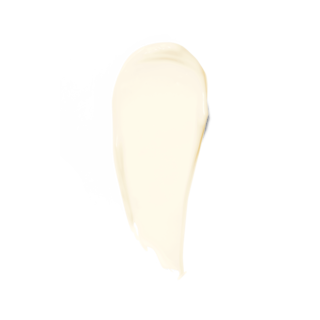
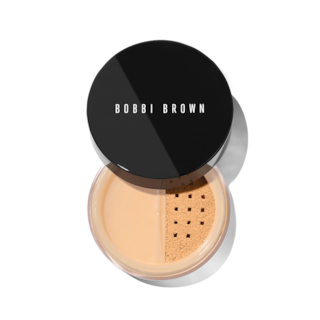
• Warm a ‘blueberry’ size amount of Vitamin Enriched Face Base into the palms of your hands and press into the skin starting with the cheeks, forehead, chin, and nose. Pro tip! Finish by working the product into the skin in circular motions to help stimulate.
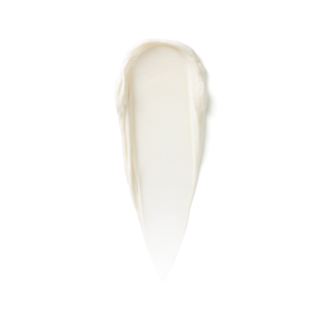
• Take one pump of Extra Illuminating Moisture Balm and press into the highpoints of the face - across the cheekbones, temples, and bridge of the nose.
• Prep the lips with Lip Balm SPF 15 - doing this at the beginning of your makeup will mean your lips are perfectly hydrated for when you apply your chosen lipstick.
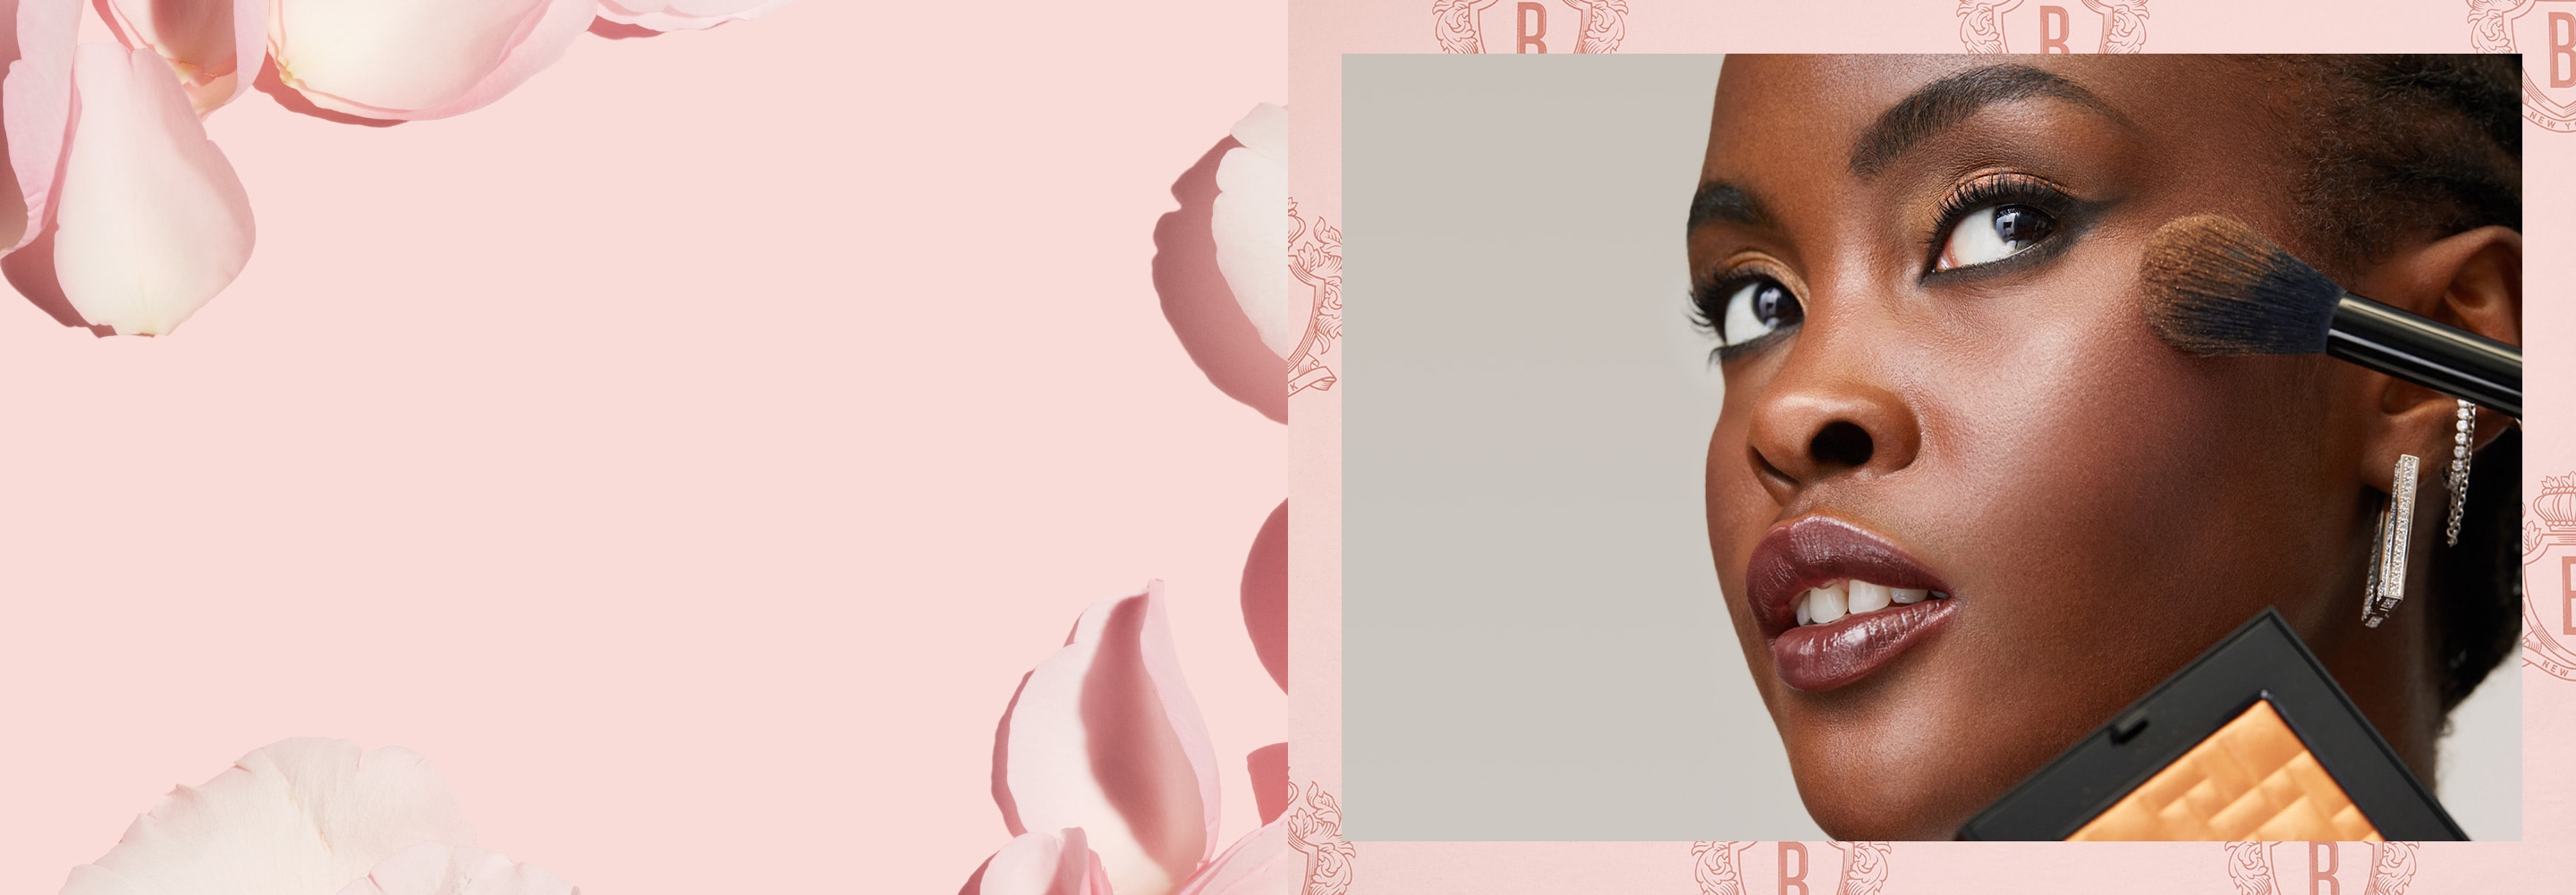
These products offer flawless, long-lasting coverage and a glowing finish – creating the perfect in-person and on-camera look!
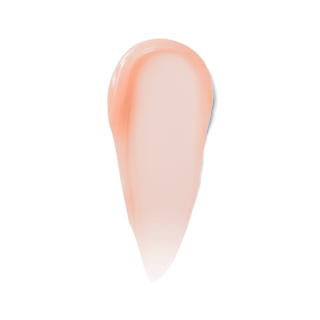
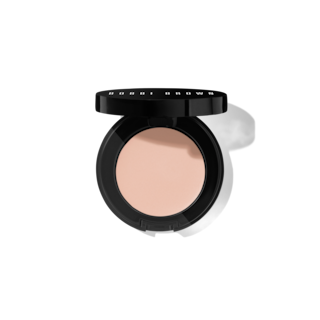
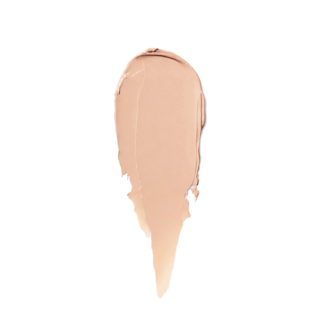
• Start with a Corrector under the eye to neutralise undereye darkness and pigmentation across the face. Pro tip! The warmth of your fingertips helps work the product into the skin for the most natural, seamless finish.
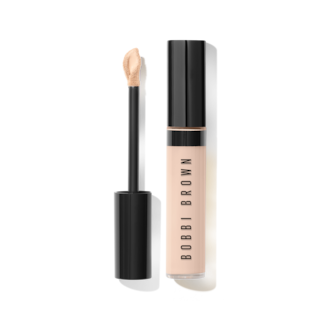
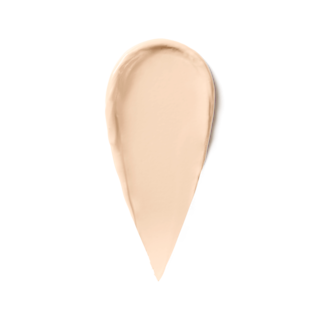
• Sweep Skin Full Cover Concealer under the eyes, taking it just below the orbital bone. Pro tip! Stipple the product through with the Full Coverage Touch Up Brush.
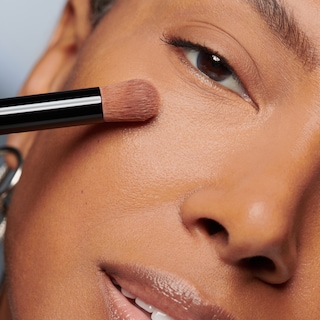
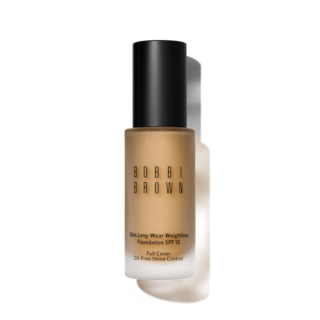
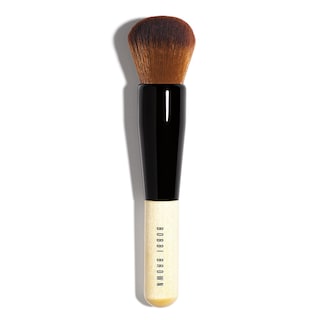
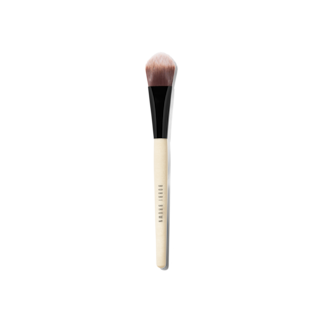
• Next, use Skin Long-Wear Weightless Foundation SPF 15 with the Full Coverage Face Brush, starting at the areas of the skin where you see the most discolouration.
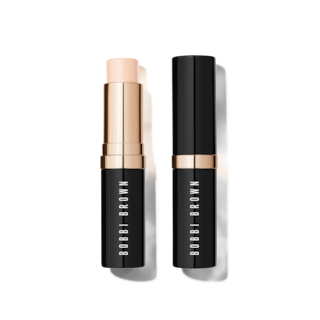
• Use Skin Foundation Stick to colour correct areas of the skin by stippling the product in light bouncing motions to build additional coverage with a second skin finish. Add warmth with a deeper Skin Foundation Stick applying across the cheekbones, forehead, and areas where the sun naturally hits.
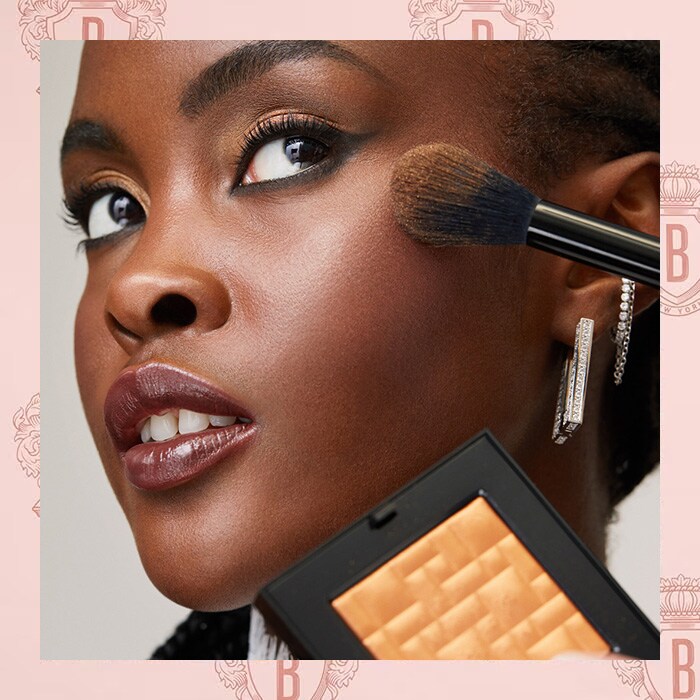
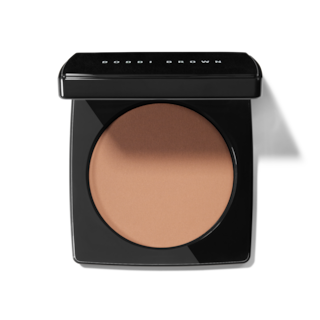
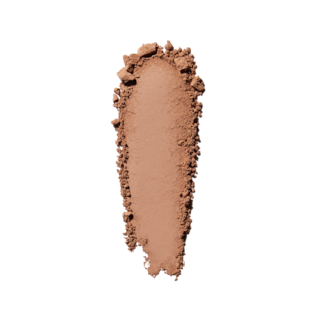
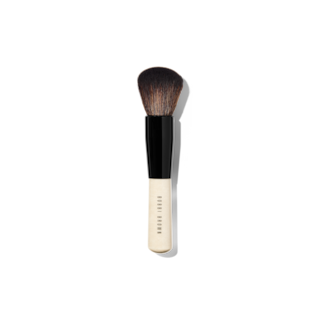
• Add additional contour with Bronzing Powder this matte formula creates a smooth and flawless finish with the Bronzing Brush.
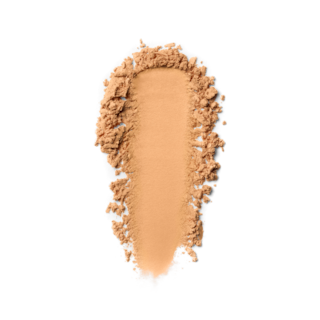
• Add a light dusting of Sheer Finish Loose Powder under the eyes and on any areas that get excessively shiny. Pro tip! A smaller brush like the Eye Blender Brush allows for precise application, allowing the natural glow shine through the highpoints of the face.
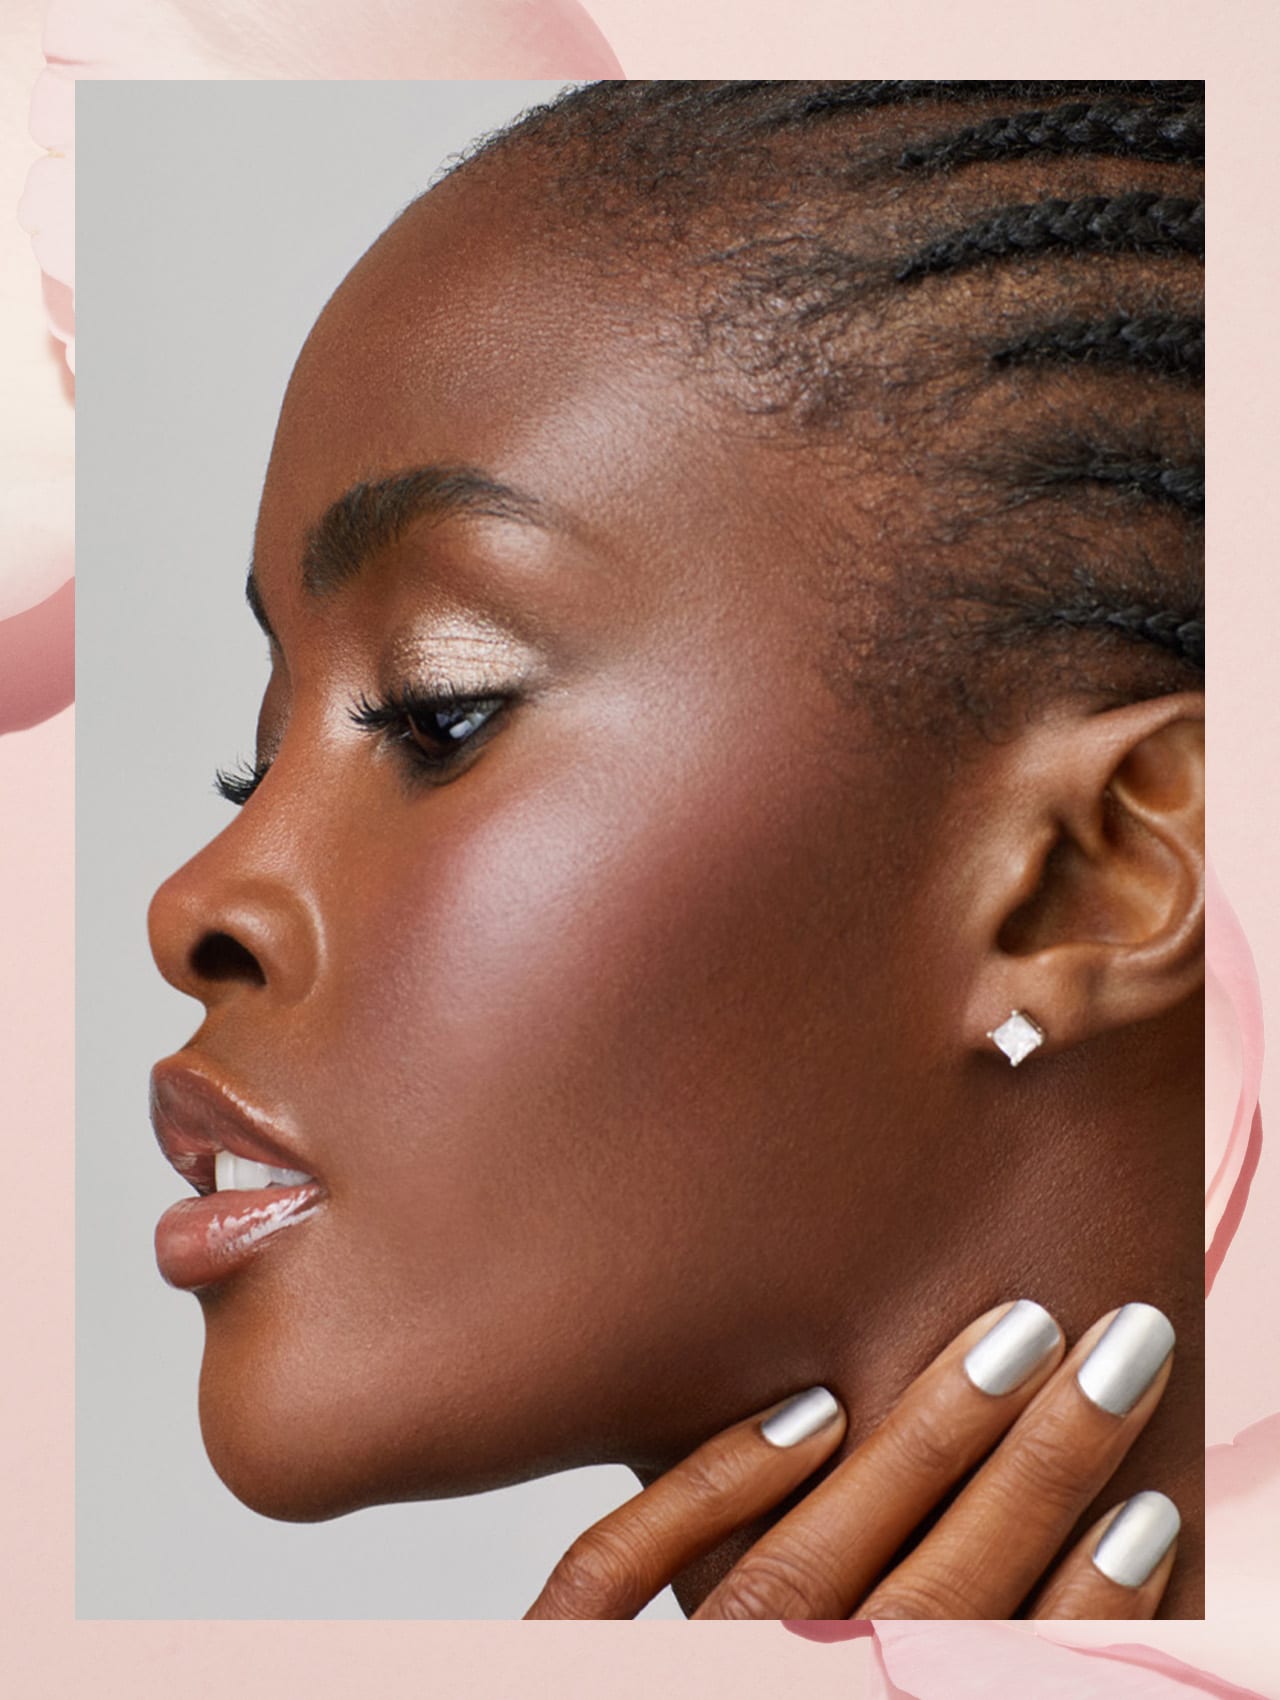
Adding a pop of colour to your lips and cheeks gives a rosy, healthy glow.
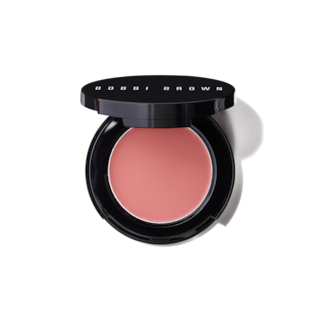
• Take the Foundation Brush and mix cream blusher Pot Rouge in Velvet Plum on the hand of your hand, then lightly tap and bounce across the apples of the cheeks for the most natural flush of colour.
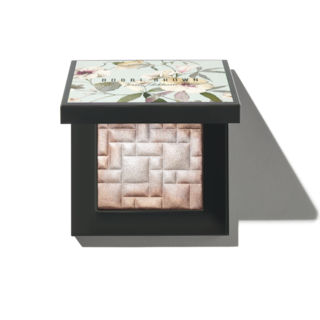
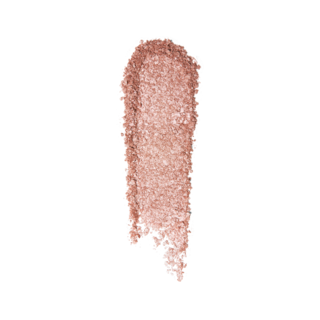
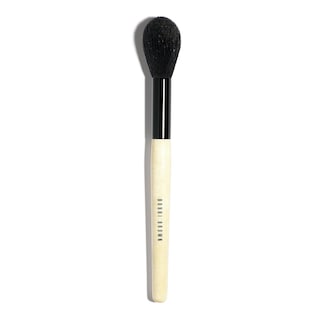
• Add additional dimension with the Highlighting Powder – we used shade Copper Glow - using a small brush like the Sheer Powder Brush to gently glide across the highpoints of the face.
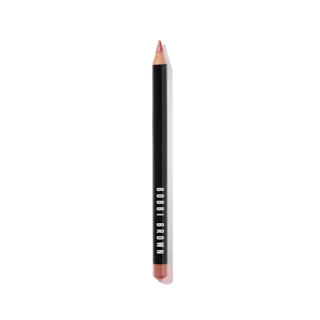
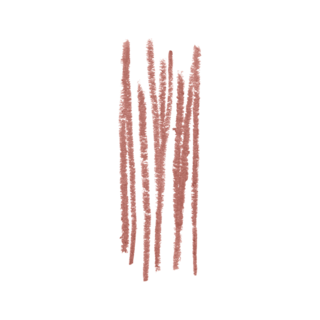
• Use Lip Pencil – we used shade Nude – to define the outer edges of the lips, then take the lip pencil lightly across the rest of the lips to increase the longevity of your lipstick.
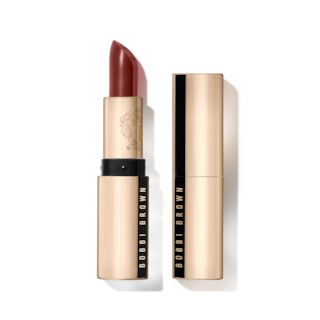
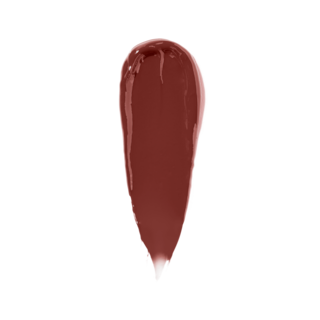
• Sweep Luxe Lipstick – we used shade Pale Mauve - from the bullet across the lips, gently use your ring finger to blot the product in after for a soft stained finish.
• Top with Extra Lip Tint in shade shade Bare Nude to create a sheer wash of colour to the lips.
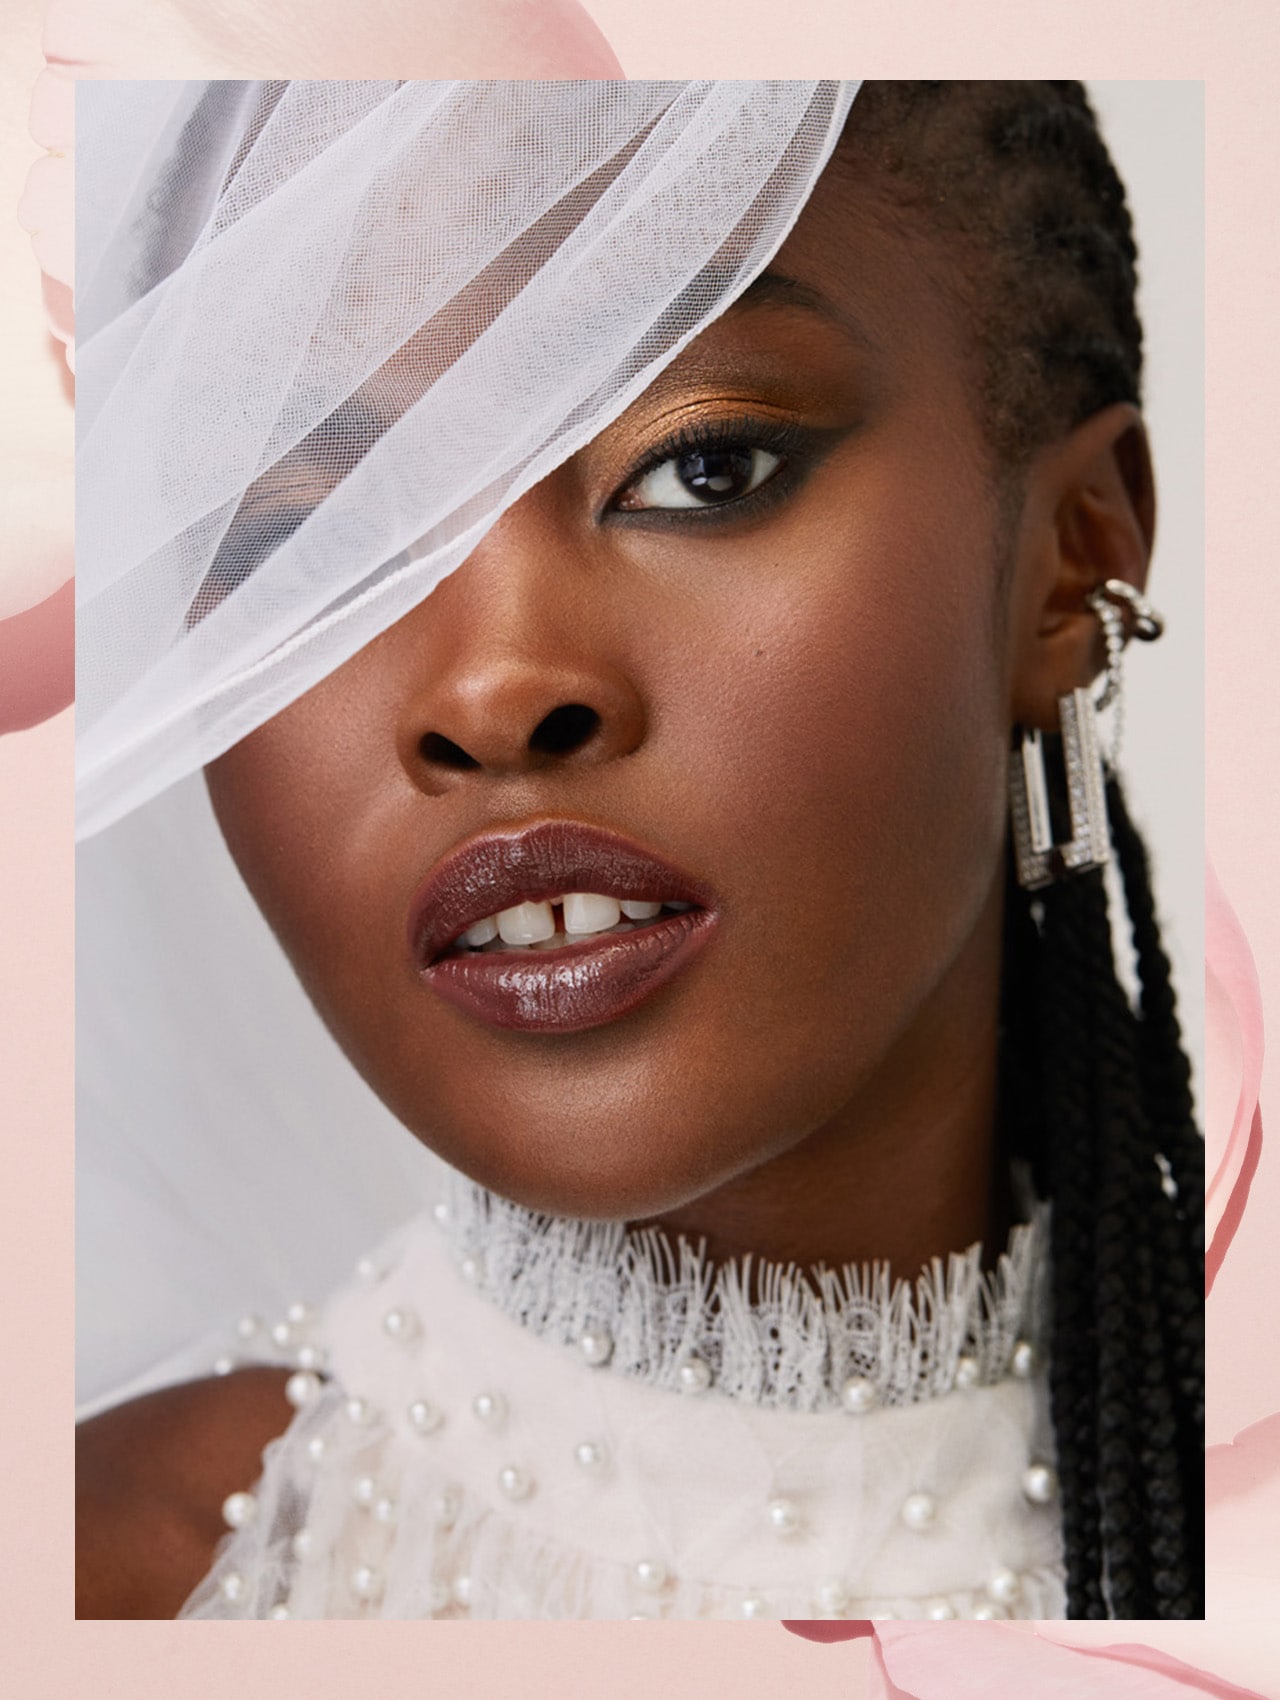
This is the dream bridesmaid eye makeup look – warm, shimmering and enticing.
• Use the Perfectly Defined Long-Wear Brow Pencil in shade Soft Black, start by using the spoolie to brush the brows up and across to see where the gaps are, lightly fill in the brows starting at the sparsest areas. Then finish with the Natural Brow Shaper in shade Clear.
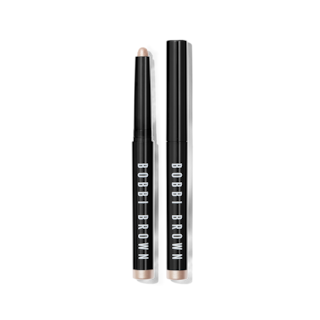
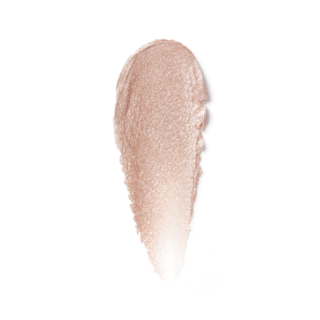
• Sweep Golden Light Long-Wear Cream Shadow Stick across the lid from the lash line to the crease to prep and neutralise any discoloration , and gently press the product in with your ring finger before using Cashew to brighten and illuminate from the crease to brow bone. Then apply shade Bark across the lash line and use the Eye Smudge Brush to buff into the taupe base.
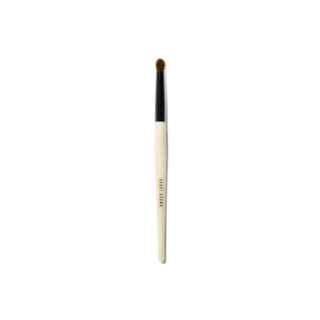
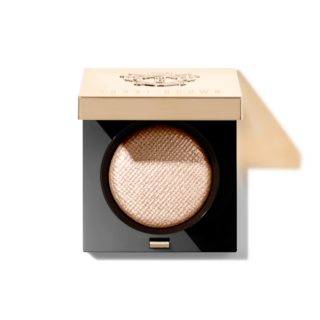
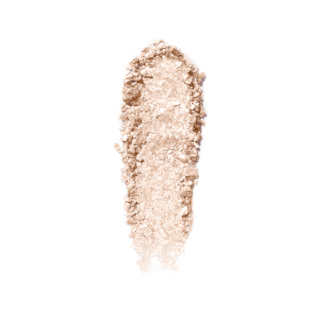
• Then using the Luxe Eye Shadow in shade Opalescent, press shade across the eyelid up to the crease.
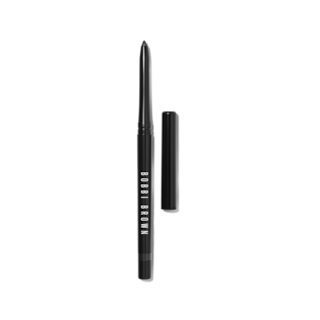
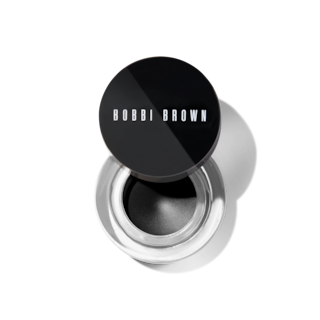
• Apply Long-Wear Gel Eyeliner close to the lash line and under the eye.
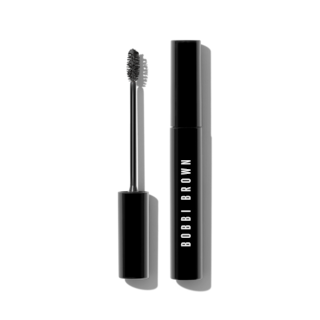
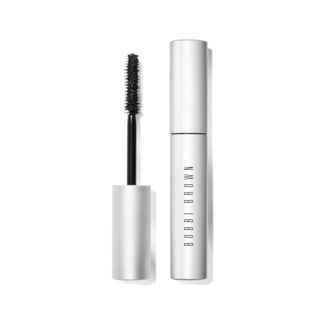
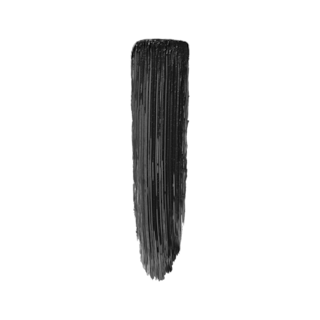
• Apply 1-2 coats of Smokey Eye Mascara, or until you have your desired length and volume – this mascara can be layered up to seven times without clumping.
And there you have it, your bridesmaid makeup look is complete!
Don’t have a professional Makeup Artist for your big day? Be your own. Spend time with a Bobbi Brown Makeup Artist and learn tips and techniques to prep your skin ahead of time and confidently create a picture perfect makeup look that lasts all day long.